In this article, I will explain how to perform Image Recognition with FiftyOne Zoo dataset.

To begin with, The FiftyOne Zoo dataset is a collection of diverse, high-quality, pre-built datasets that are ready for use with the FiftyOne tool. Actually, it is a Python package for exploratory analysis and debugging of computer vision models.
As can be seen, the FiftyOne Zoo datasets cover a wide range of computer vision applications. For instance, we can use it in applications involving object detection, image classification, semantic segmentation, and more. In fact, each dataset is organized and formatted to work seamlessly with FiftyOne, making it easy to use and experiment with.
Some of the datasets included in the FiftyOne Zoo include the COCO dataset, the Open Images dataset, and the ImageNet dataset, among many others. Furthermore, the FiftyOne Zoo is open source. Also, it is free to use. So, it makes it a great resource for researchers and developers working on computer vision projects.
If you’re interested in learning more about FiftyOne and the datasets in the FiftyOne Zoo, you can visit their website at https://voxel51.com/docs/fiftyone/.
Performing Image Recognition with FiftyOne Zoo Dataset
In order to perform Image Recognition with FiftyOne Zoo, you need to follow these steps.
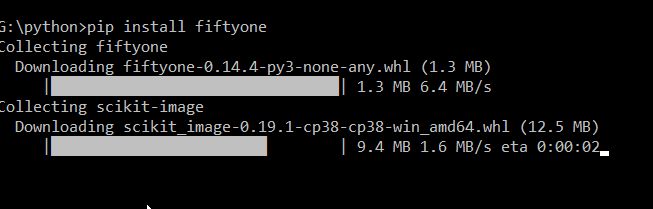
- At first, you need to install FiftyOne Zoo and other necessary libraries.
2. After that, you can load the dataset.
3. Before proceeding further, you need to preprocess images. For instance, you may need to perform resizing, normalization, or other image transformations.
4. Further, split the dataset into training, validation, and testing sets.
5. After that, you can build the model using either a pre-trained model or build it from scratch using python packages like Tensorflow or PyTorch.
6. Then, train the model using the training dataset. Also, you can adjust the model’s parameters like weights and biases.
7. Once, the model has been trained, you can evaluate its performance using various metrics like accuracy, precision, recall, and F1 score.
8. Next, test the model using the test dataset.
9. Then again, fine-tune the model by adjusting parameters.
10. Finally, deploy the model to make it ready for use by real-world applications.
Further Reading
Exclusive Project Ideas Using Transformer Model for Students
Examples of OpenCV Library in Python
A Brief Introduction of Pandas Library in Python
A Brief Tutorial on NumPy in Python
- Angular
- ASP.NET
- C
- C#
- C++
- CSS
- Dot Net Framework
- HTML
- IoT
- Java
- JavaScript
- Kotlin
- PHP
- Power Bi
- Python
- Scratch 3.0
- TypeScript
- VB.NET