In this article, you will learn how to Install and Configure Git.
The following section outlines the step-by-step procedure to Install and Configure Git.
Downloading and Installing Git
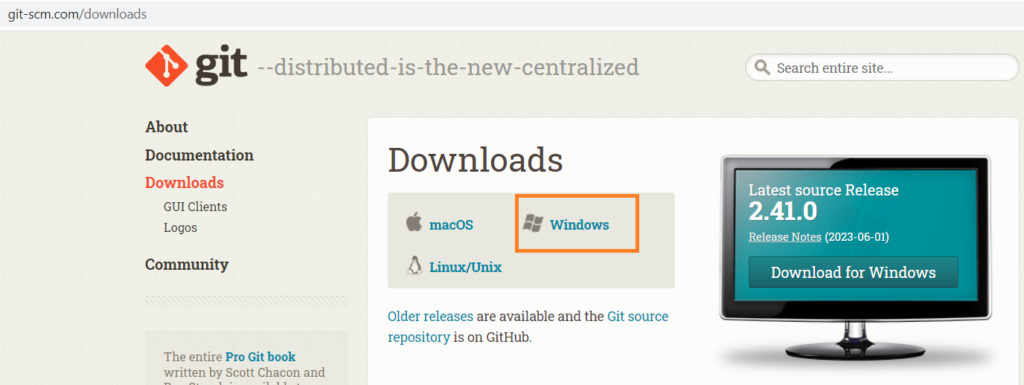
- At first, Visit the official Git website at https://git-scm.com/downloads.
- After that, choose the appropriate installer for your operating system (Windows, macOS, Linux) and click on the corresponding download link.
- Once the download is complete, locate the installer file and run it.
- Further, follow the on-screen instructions to complete the installation process. Make sure to review and customize the installation settings if necessary.

You can select the appropriate installer according to the operating system you have.

Further, if you are installing on Windows then, select a 32-bit installer or 64-bit setup for the installer accordingly.

Then, click on next.

Also, you can change the default location. So, browse the folder in which you want to install the Git and click on next.

Then, select the necessary components.

Also, select the start menu folder.

Also, you can choose the editor in which you want to work.

Let the initial branch name decided by Git. So click on next.

For the purpose of accessing it from command line, select the second option.

In order to communicate with remote repositories, you need an SSH (Secure Shell) connection. Therefore, select OpenSSH. Because it is well supported by Git.

Actually, HTTPS transport backend is the method by which Git communicates with remote repositories using the HTTPS protocol. So, keep the default open selected.

Further, for line-ending, keep default and click on next.

Since, by default Git uses MinTTY terminal emulator. So keep the default and click on next.

Further, keep default for standard behavior of Git pull and click on next.

When communicating with remote Git repositories, a Git credential helper is a tool that enables Git to securely handle and preserve login credentials, saving you from having to continually enter your username and password. Git communicates with a number of remote services, including GitHub, GitLab, and Bitbucket, all of which demand authentication in order to access private repositories or carry out operations like pushing or pulling code. So, keep the default option and click on next.

After that, click on next button.

Also, you can enable experimental support and click on Install.

Git will take few minutes to install.

When installation is complete, click on the Finish button. Now you are ready for the Git configuration.
Configuring Git
After successfully installing Git, it’s important to configure it with your personal information. This allows Git to properly identify you as the author of commits.
- Open the command line or terminal on your system.
- Set your name by executing the following command:
git config --global user.name "Your Name"
Replace “Your Name” with your actual name. This sets your name globally for all Git repositories on your system.
- Set your email address by executing the following command:
git config --global user.email "your.email@example.com"
Replace “your.email@example.com” with your actual email address. Similar to the previous command, this sets your email globally for all Git repositories.

- Optionally, you can configure additional settings such as default text editor, line endings, and more. Refer to the Git documentation for more details.
Congratulations! You have now successfully installed and configured Git on your system. You can now start using Git for version control and collaborate on projects.
Further Reading
How Git Transforms Your Development Process?
Innovative Project Ideas on Cloud Resource Provisioning
Tools for Performing Cloud Resource Provisioning
When should we prefer to React over PHP?
Innovative Project Ideas in Terraform
20+ Interview Questions on Chaos Engineering
Examples of Array Functions in PHP
- Angular
- ASP.NET
- C
- C#
- C++
- CSS
- Dot Net Framework
- HTML
- IoT
- Java
- JavaScript
- Kotlin
- PHP
- Power Bi
- Python
- Scratch 3.0
- TypeScript
- VB.NET
